How To Apply For Registration of DAGPA in Telangana?
Organisation : Telangana Revenue Department
Facility Name : Registration of DAGPA
Applicable States/UTs : Telangana
Website : https://bhubharati.telangana.gov.in/homePage
| Want to ask a question / comment on this post? Go to bottom of this page. |
|---|
How To Apply For Registration of DAGPA in Telangana?
Registering a General Power of Attorney (GPA) in Telangana involves drafting the document, paying stamp duty (₹1,000 for family, 1% for others), and registering it via the Bhu Bharati portal or a Sub-Registrar office. Both parties must sign, usually requiring two witnesses, to authorize actions like managing or selling property.
Related / Similar Facility : How To Apply For Court Case PPB in Telangana?

Login
1) Visit Bhu Bharati (https://bhubharati.telangana.gov.in/) portal and click on the Login button to avail any service.
2) If not registered with Bhu Bharati, click on the Signup to register into the portal (check user registration manual if required).
3) If already registered with Bhu Bharati, login to the portal by entering the mobile number, password, captcha, and click on the Get OTP button.
4) OTP has been successfully sent to the registered mobile number. Click on the OK button.
5) Enter OTP and click on the Validate OTP button.
6) OTP has been verified successfully. Click on the OTP button.
7) Citizen Dashboard is now open for using any service.
Registration of DAGPA
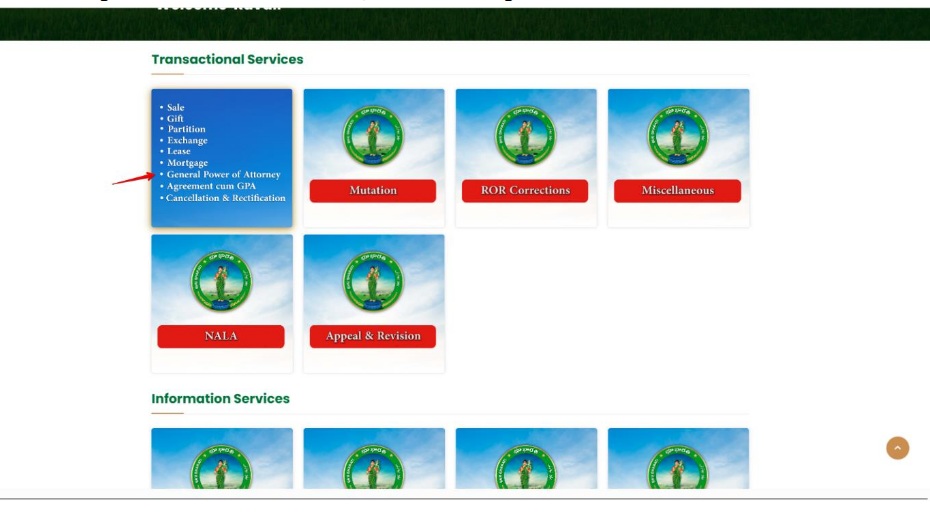
1) To avail the Registration for DAGPA service, hover over Registration Modules and click on it.
2) Choose Registration of DAGPA.
3) You can check all the citizen side flows involved in the application and click on the Proceed button to move further into the application.
4) Select the Nature of Deed, Nature of Sub Deed, enter PPB (Passbook) Number, and click on the Fetch button.
5) The property details populate. Select the checkbox corresponding to the extent of land. Enter the extent of land, estimated cost of construction/development for which development agreement cum GPA is to be registered. Click on the Proceed button.
6) A pop-up appears asking for confirmation to proceed. Click on the OK button.
7) Enter boundary details and click on the Proceed button.
8) Enter Landlord’s Personal, Communication Details and click on the Save and Continue button.
9) Family member details populate. You can add more family members by clicking on the Add More button. Click on Save and Continue.
10) Select Applicant Type, Validate Aadhaar, add Developer’s Personal details, Communication details, and click on the Save and Continue button.
11) Add Developer’s family member’s details and click on the Save and Continue button.
12) If you want to add consenting party details, choose ‘Yes’ radio button for Do you want to add consenting party details? And click on the Save and Continue button. Else select ‘No’ and you will be redirected to the next step.
13) If you want to add payments of consideration details, choose ‘Yes’ radio button for Do you want to details of payments of consideration? And click on the Save and Continue button. Else select ‘No’ and you will be redirected to the next step.
14) Click on the Transaction Summary Receipt button.
15) Transaction summary receipt is downloaded.
16) Choose Yes or No radio button for Have you verified information present in Transaction Summary Receipt? Click on the Proceed for Payment button.
Payment
17) Payment can be made by either Landlord or Developer. By default, Developer is selected. Click on the Generate Challan button.
18) Check the checkbox for accepting terms and conditions and click on the Proceed button.
19) You will be redirected to the payment gateway and pay the fee.
Generate Document
20) Go to the Dashboard.
21) Click on the Generate Document button for that application.
22) Click on the Generate Document button. You can also download eChallan and Transaction Summary receipts.
23) The development agreement cum irrevocable GPA deed document is generated and downloaded.
24) Click on the Confirm Document button.
25) Click on Proceed for Slot booking button.
Slot Booking
26) Select a date and time for slot booking. Click on Book Slot button.
27) Click on the Submit button.
28) Confirm the slot booking date and time by clicking on the OK button.
29) Slot is booked. Click on the Slot Receipt button to download the receipt. The application is forwarded to the Operator for capturing of photo and biometrics. Visit concerned Tahsildar office for further process on the date of slot booked.